Wetsuits these days are by no means a cheap surfing item. There are hundreds of different brands, cuts, materials, features and price points. We are not going to delve into the ins and outs of what wetsuit you should buy in this article. What we are going to do however is tell you the best way to get longevity out of your wetsuit through proper care and maintenance. To do this we tell the story of “the day in the life of a wetsuit”.
Saturday Morning 6am: Joe wakes to his alarm, rolls over in bed and picks up his phone to check the live surf forecast. 2.5 metre swell, light easterly winds…. It’s on!! After a quick coffee he gathers his stuff. Surfboard..Check. towel…Check. Wetsuit…Ahhh #$%&*. Joe forgot to wash and hang his wetsuit out from his previous surf and it’s rolled up in a damp smelly ball and stuffed into the corner of his ute.
Joe does this about once a week and wonders why his wetsuit only lasts him 1 season.
Does this sound familiar?
Let’s run you through a few of the key things required to make sure you get the most out of your bag for fruit (wetsuit).
WETSUIT CARE
Wetsuit Wearing:
A great tip to get in the habit each time you pop your wetsuit on is to use a plastic bag. A plastic bag you say? What’s that got to do with anything? Place the plastic bag over your foot and then slide your foot through the leg of the wetsuit. Change foot and repeat. This allows your feet to slide through the leg of the wetsuit without stretching the fabric too much. You can purchase foot bags but I personally prefer the ‘free’ option, a good old placky bag.
Wetsuit Washing:
Wash your wetsuit in fresh cold water from the tap after every surf AT A MINIMUM. If you’re a super caring person I’d suggest buying a product called “Pissoff’. It’s basically a shampoo for your wetsuit. It will clean out all the nasties (yes you know you do it) and keep the material in tip top condition. The shampoo rinse doesn’t have to be done after every surf but I’d suggest once a month should do the trick. Just to be sure, double check the manufactures recommendations on the label.
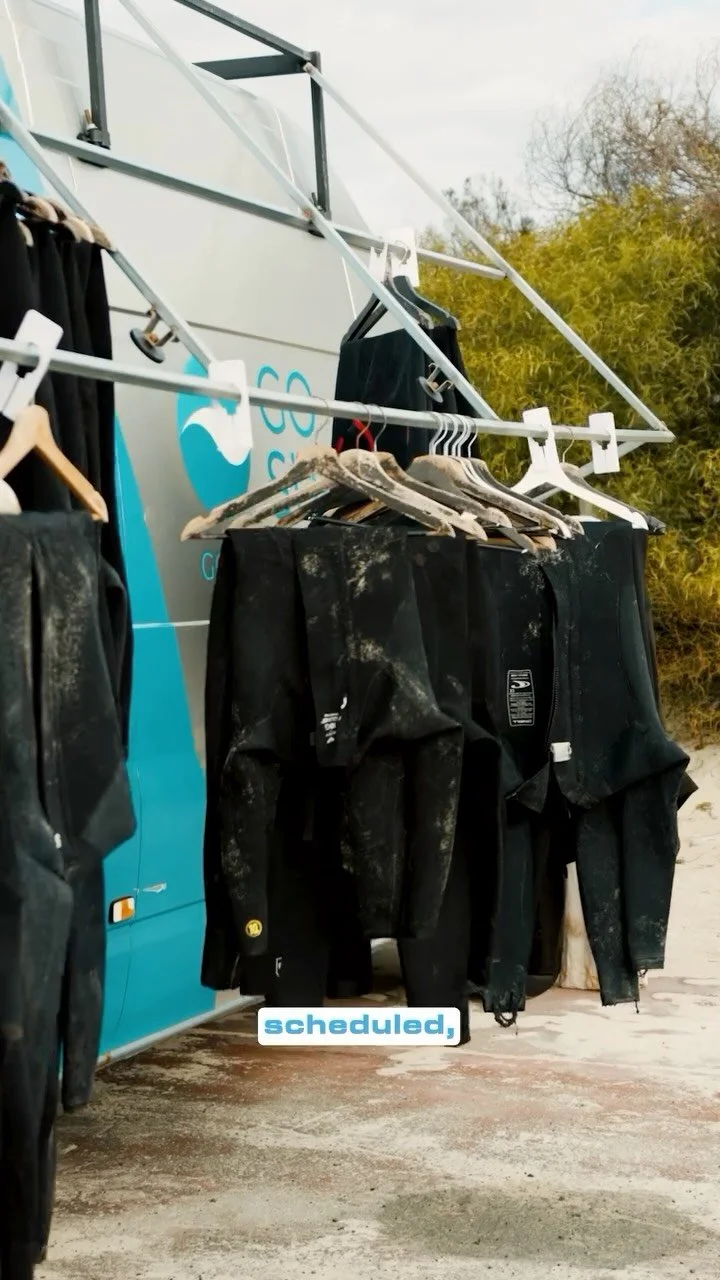
Wetsuit Hanging:
Another tip is to never hang your wetsuit like you would a shirt: Don’t place the hanger through the shoulders. Get yourself a hanger like this:

Make Sure the hanger is strong enough to hold the weight of a wet wetsuit.
And hang the wetsuit like this:
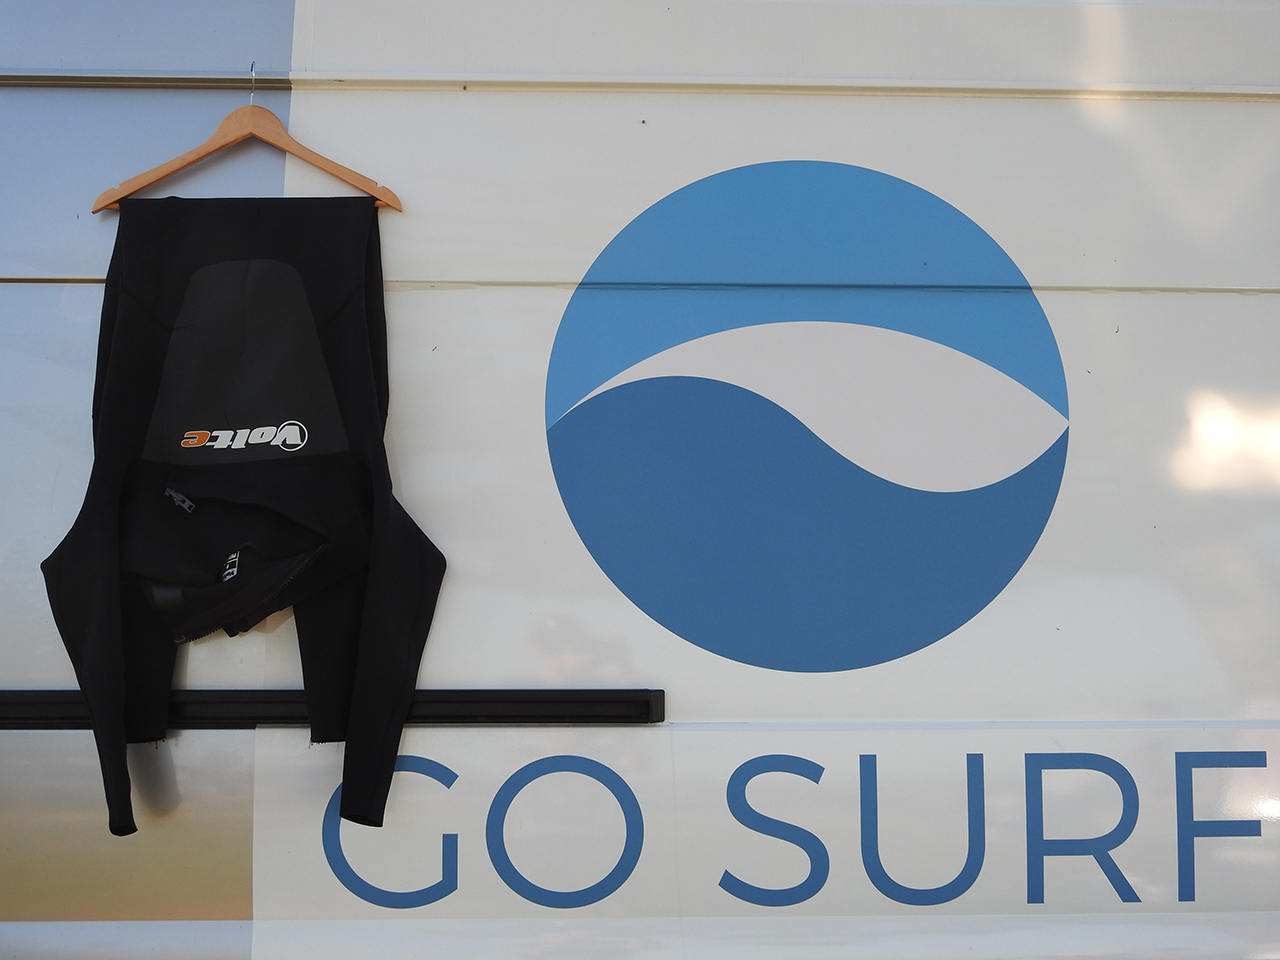
Hang the wetsuit half way!
By doing this you will save the shoulders of your wetsuit from stretching and eventually tearing through the fabric. If you don’t hang it like I have shown you above, before long the wetsuit will look like this:

Worn out wetsuit from hanging them INCORRECTLY
Drying: Never hang your wetsuit in the direct sunlight. Always hang the suit in partial sunlight.
WETSUIT REPAIR
Now, it’s inevitable that your wetsuit will get the odd rip, nick and/or tear. When this happens, stay ontop of it. Don’t leave it for another time as the rip will get bigger and you will get colder.
For wetsuit repairs you need three items.
1) Neoprene Glue (which you can pick up from Bunnings)
2) A sewing needle
3) Dental Floss

Neoprene Glue, a sewing needle and Dental Floss.
Repair small wetsuit rips:
For small nicks and rips you may not need the sewing needle and Dental Floss. If the rip is in a spot that doesn’t stretch or bend too much then the glue should do the trick.
Step 1: Before you apply the glue make sure the wetsuit is dry and sand free.
Step 2: Place the wetsuit on a flat surface
Step 3: Apply the glue to either side of the rip and join together. Sometime a peg helps to clamp the rip together.
Step 4: Wait for the required drying time and you're done.
Repair large wetsuit rips and tears:
Step 1: Before you apply the glue make sure the wetsuit is dry and sand free.
Step 2: Place the wetsuit on a flat surface
Step 3: Apply the glue to either side of the rip and join together. Sometime a peg helps to clamp the rip together.
Step 4: Wait for a few hours for the glue to set so it’s not sticky when you touch it.
Step 5: Thread the dental floss through the needle and start sewing the two edges together.
Step 6: Let the glue completely dry and then apply some more glue over the stitching.
Last thing before we wrap up. The quality of the wetsuit will have a large bearing on it’s longevity. Here at Perth Go Surf we use Volte Wetsuits. As a surf school, we require wetsuits that are well made and stand up to some serious rough and tumble dealt out during the surf lessons. Volte Wetsuits definitely tick all the boxes.
Stay tuned for more tips and tricks!
Cheers,
The crew @gosurfperth